 farm.ws ```html
 Introduction to DIY Aquaponics Aquaponics is a sustainable food production system that combines aquaculture (raising fish) with hydroponics (growing plants without soil). This symbiotic relationship benefits both the fish and the plants, creating a closed-loop ecosystem. In this guide, we'll walk you through the steps of building a simple DIY aquaponics system.
Materials You'll Need A fish tank (at least 20 gallons) A grow bed (made from a plastic container, about the same volume as the fish tank) A water pump (submersible, sized for the tank volume) Grow media (clay pebbles, lava rock, or similar inert material) Plumbing fittings and tubing (to connect the pump, fish tank, and grow bed) An air pump and air stone (to oxygenate the fish tank water) Fish (e.g., goldfish, tilapia, or koi) Seeds or seedlings (e.g., lettuce, herbs, or leafy greens) Optional: Timer for the water pump
Step 1: Setting Up the Fish Tank Clean the fish tank thoroughly with water only (no soap or chemicals). Place the tank in a location that receives indirect sunlight. Add dechlorinated water to the tank. Set up the air pump and air stone to provide oxygen to the water. Let the tank cycle for a few weeks before adding fish. Cycling involves establishing beneficial bacteria that convert fish waste into plant nutrients. You can speed up the cycling process by adding a source of ammonia, such as fish food.
Step 2: Preparing the Grow Bed Drill drainage holes in the bottom of the grow bed. Rinse the grow media thoroughly to remove any dust or debris. Fill the grow bed with the rinsed grow media. Position the grow bed above the fish tank, ensuring it's stable and secure.
Step 3: Connecting the Plumbing Connect the water pump to the tubing. Place the pump in the fish tank. Run the tubing from the pump to the grow bed. Create an outlet in the grow bed that allows the water to drain back into the fish tank. This can be a simple overflow pipe or a more sophisticated siphon system (bell siphon or auto-siphon). Ensure the plumbing is secure and leak-free.
Step 4: Starting the System Plug in the water pump. If using a timer, set it to run for 15 minutes every hour. This intermittent flooding and draining of the grow bed provides the plants with water and nutrients while also allowing the roots to access oxygen. Monitor the water level in the fish tank and add water as needed to compensate for evaporation.
Step 5: Adding Fish and Plants Once the fish tank has cycled (ammonia and nitrite levels are zero, and nitrate levels are present), introduce the fish gradually. Start with a small number of fish and monitor their health. Plant the seeds or seedlings in the grow media. Provide adequate lighting for the plants, either natural or artificial.
Step 6: Maintenance Regularly test the water quality (pH, ammonia, nitrite, and nitrate levels). Adjust the pH as needed to maintain a range of 6.0 to 7.0. Add water to the fish tank to replace evaporated water. Clean the fish tank and grow bed periodically to remove any algae or debris. Harvest the plants as they mature. Add more fish as the system matures, being careful not to overload the system.
Conclusion Building a DIY aquaponics system is a rewarding experience that allows you to grow your own food in a sustainable way. By following these steps, you can create a thriving ecosystem that benefits both fish and plants. Remember to research and adapt the system to your specific needs and resources. Happy growing!
``` Aquaponics
farm.ws Aquaponics
 www.britannica.com
 What Is Aquaponics?
 baliaquaponics.com
  anientadajb3wire.z21.web.core.windows.net ```html
  fity.club
  agroproes.com
  www.agrifarming.in ```html
  www.plantsonwalls.com
  www.dreamstime.com
  www.greenlife.co.ke
  agrierp.com
 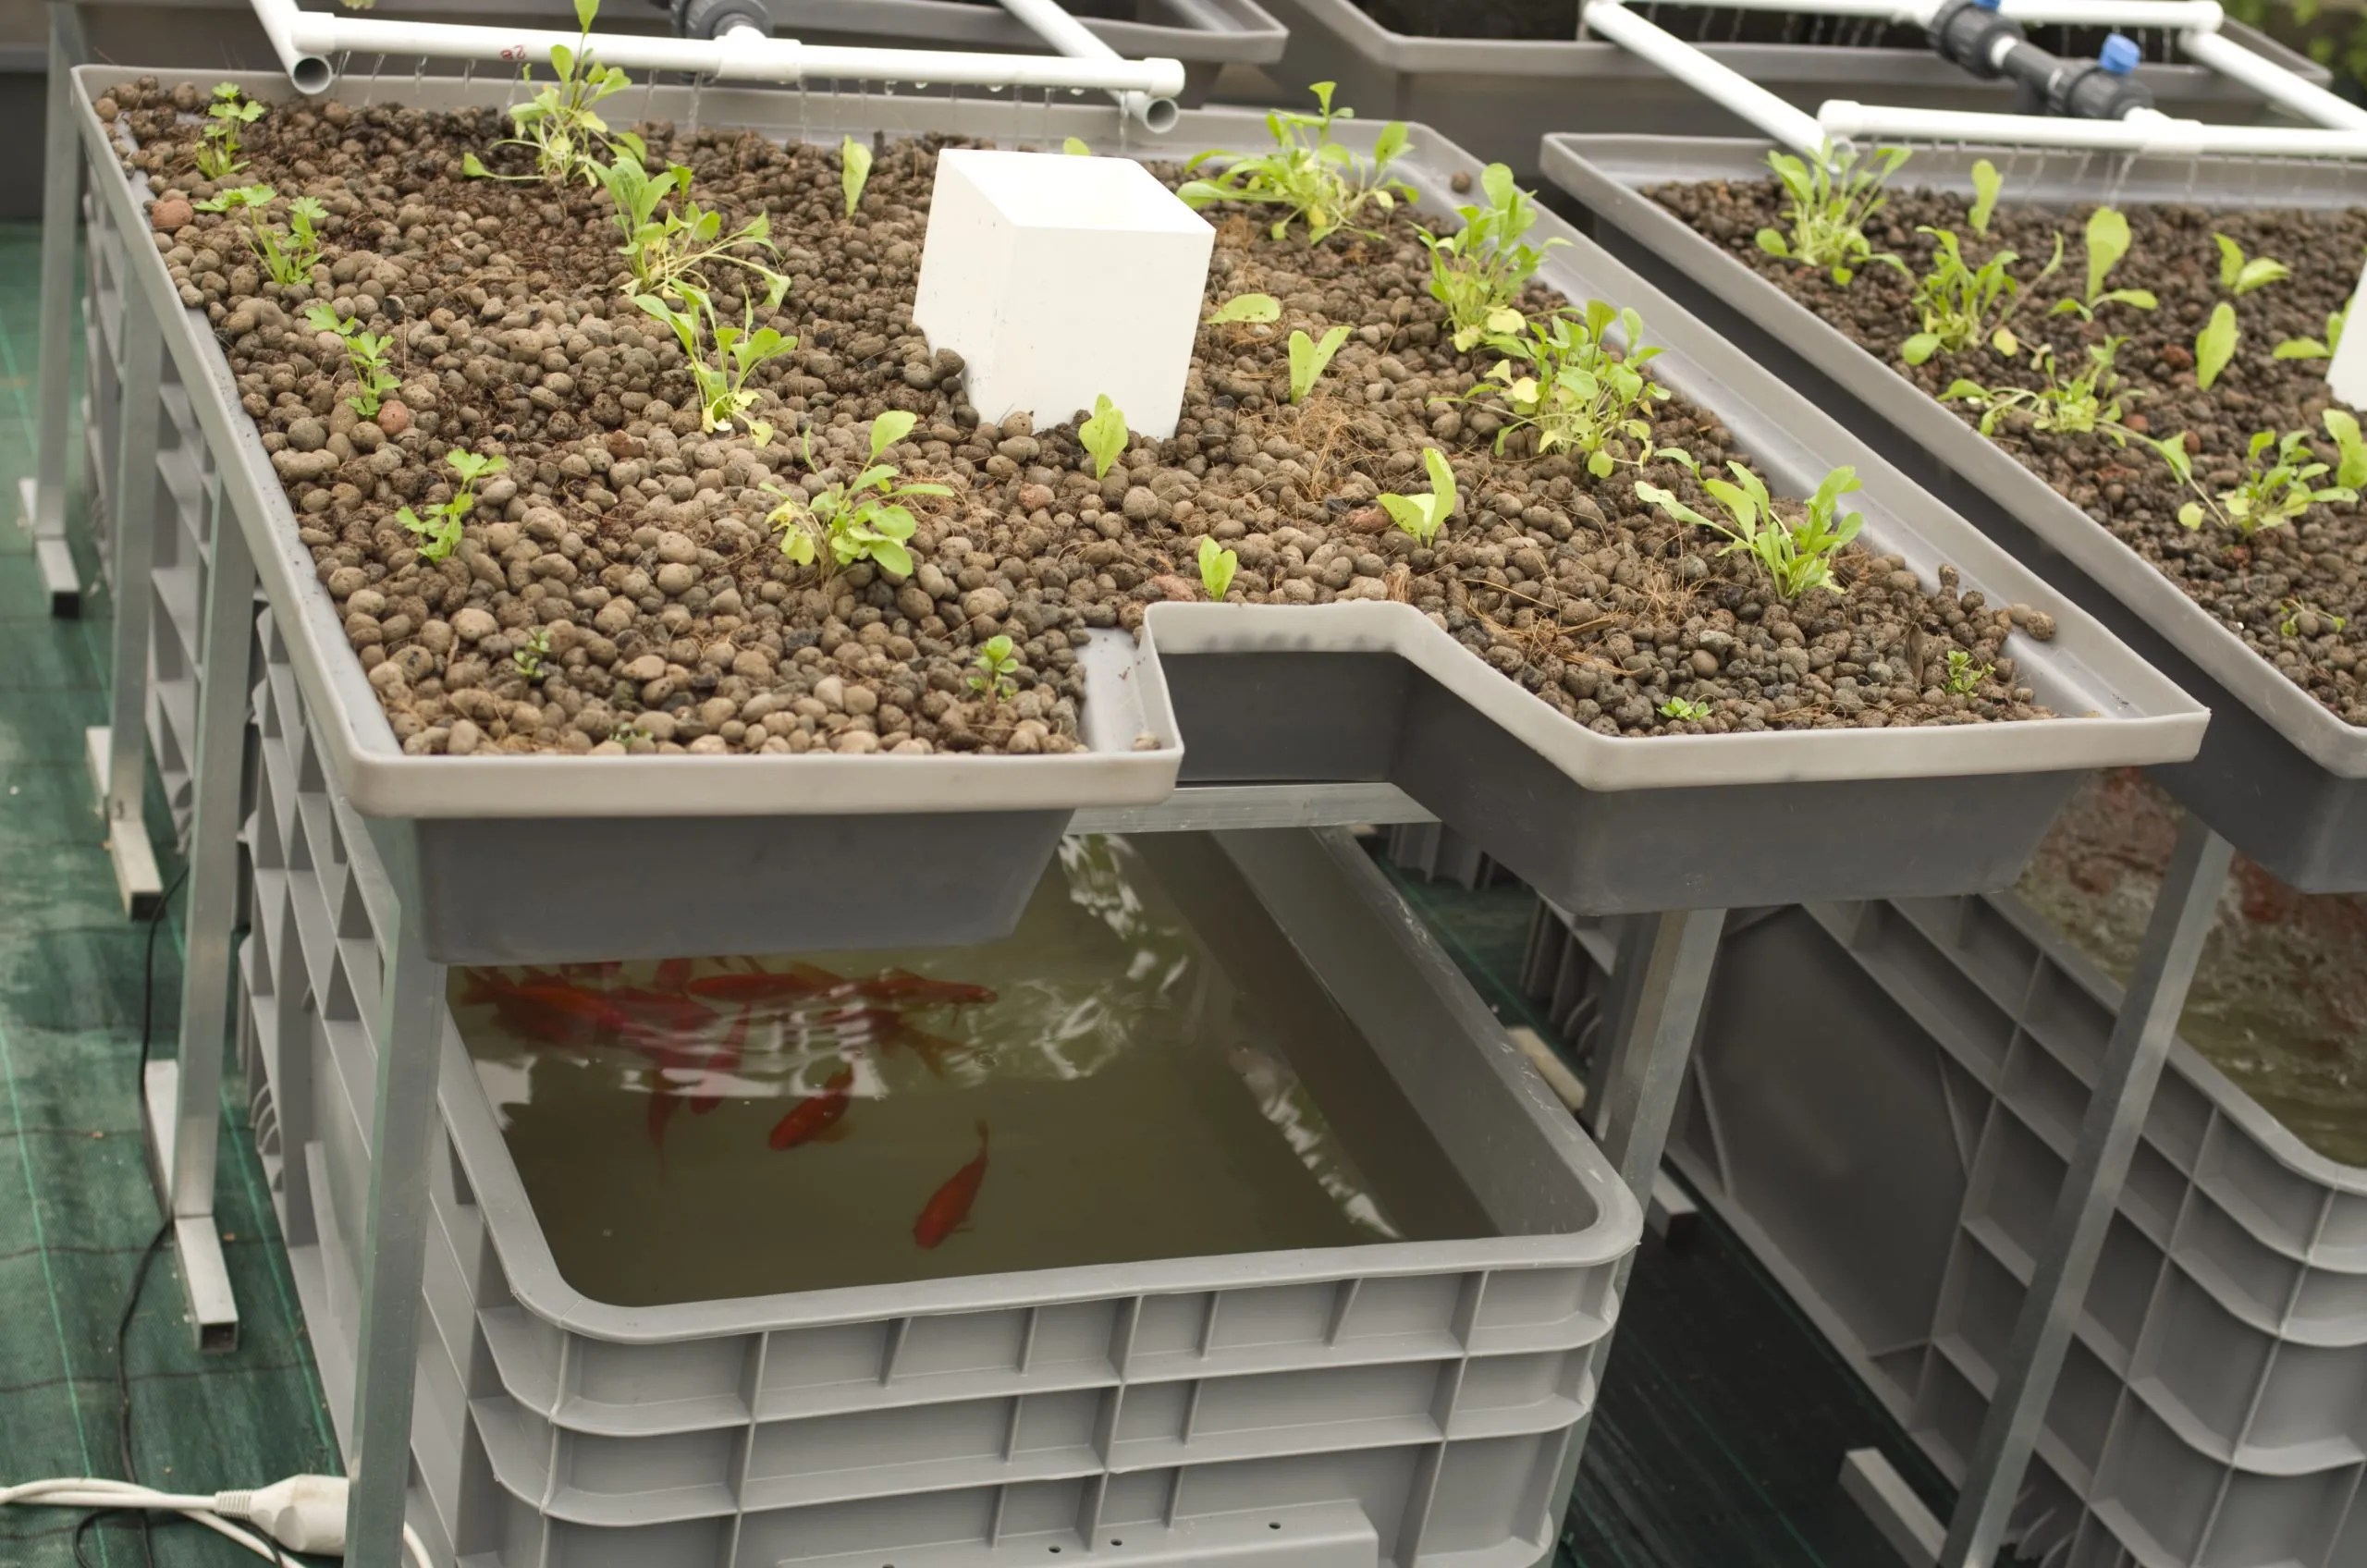 www.aquaponicsforbeginners.com
  fity.club
  agromoris.com
  popsugar.com ```html
  www.bonappetit.com
  www.epicurious.com
